
There’s something about the start of spring that brings the urge to clear the clutter and give our homes the deepest of cleans. But how do we spring clean effectively and without feeling utterly exhausted at the end? Our guide looks at how you can have the ultimate spring clean easily.
First, Tidy Everything Away
It’s no use trying to clean before you tidy. Put everything in its place and throw out anything you don’t need. Over the course of the year, we tend to gather all sorts of ‘stuff’. If you haven’t used something in a few months, ask yourself if you really need it. Consider sending it to charity or even selling it for someone else to make use of.
Go from room to room individually and clear everything away from shelves, floors and surfaces. Leave only what you intend to have on display after you’ve cleaned. Once you’ve tidied then you can begin cleaning.
Use A Vacuum Cleaner For Cleaner Air
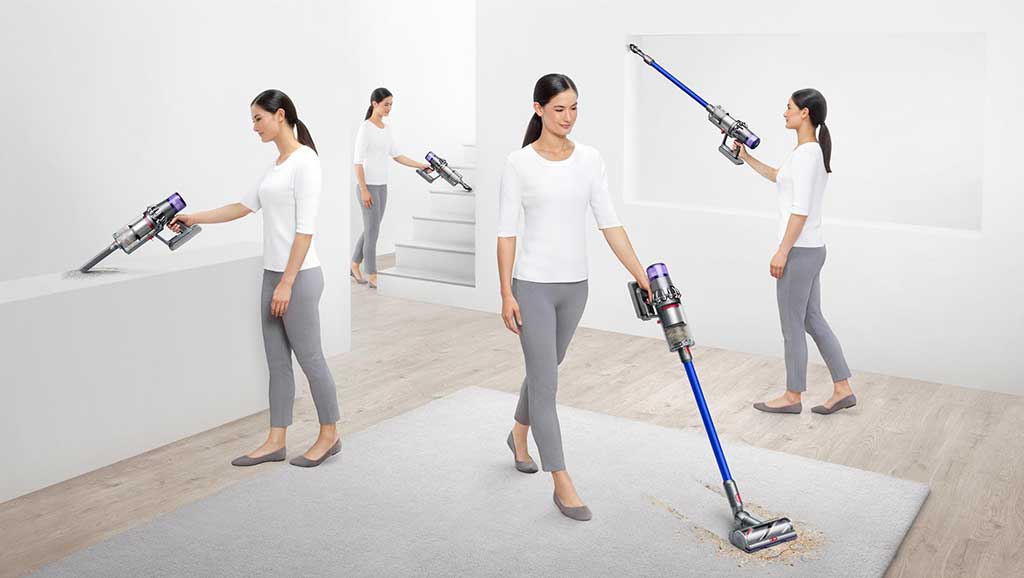
The most effective way of getting rid of dust is to vacuum. For the cleanest air possible, especially for allergy sufferers, use a vacuum with a HEPA (High Efficiency Particulate Air) filter. These filters trap even the tiniest of particles to give an advanced level of cleanliness. This means particles such as allergens and bacteria are trapped and removed from your air.
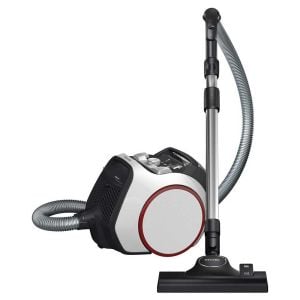
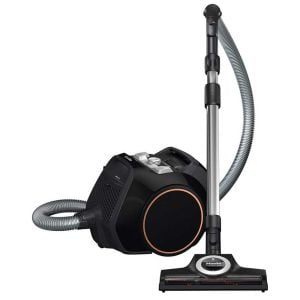


Select The Right Vacuuming Tools
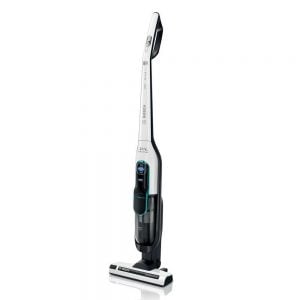
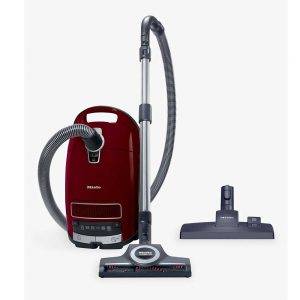
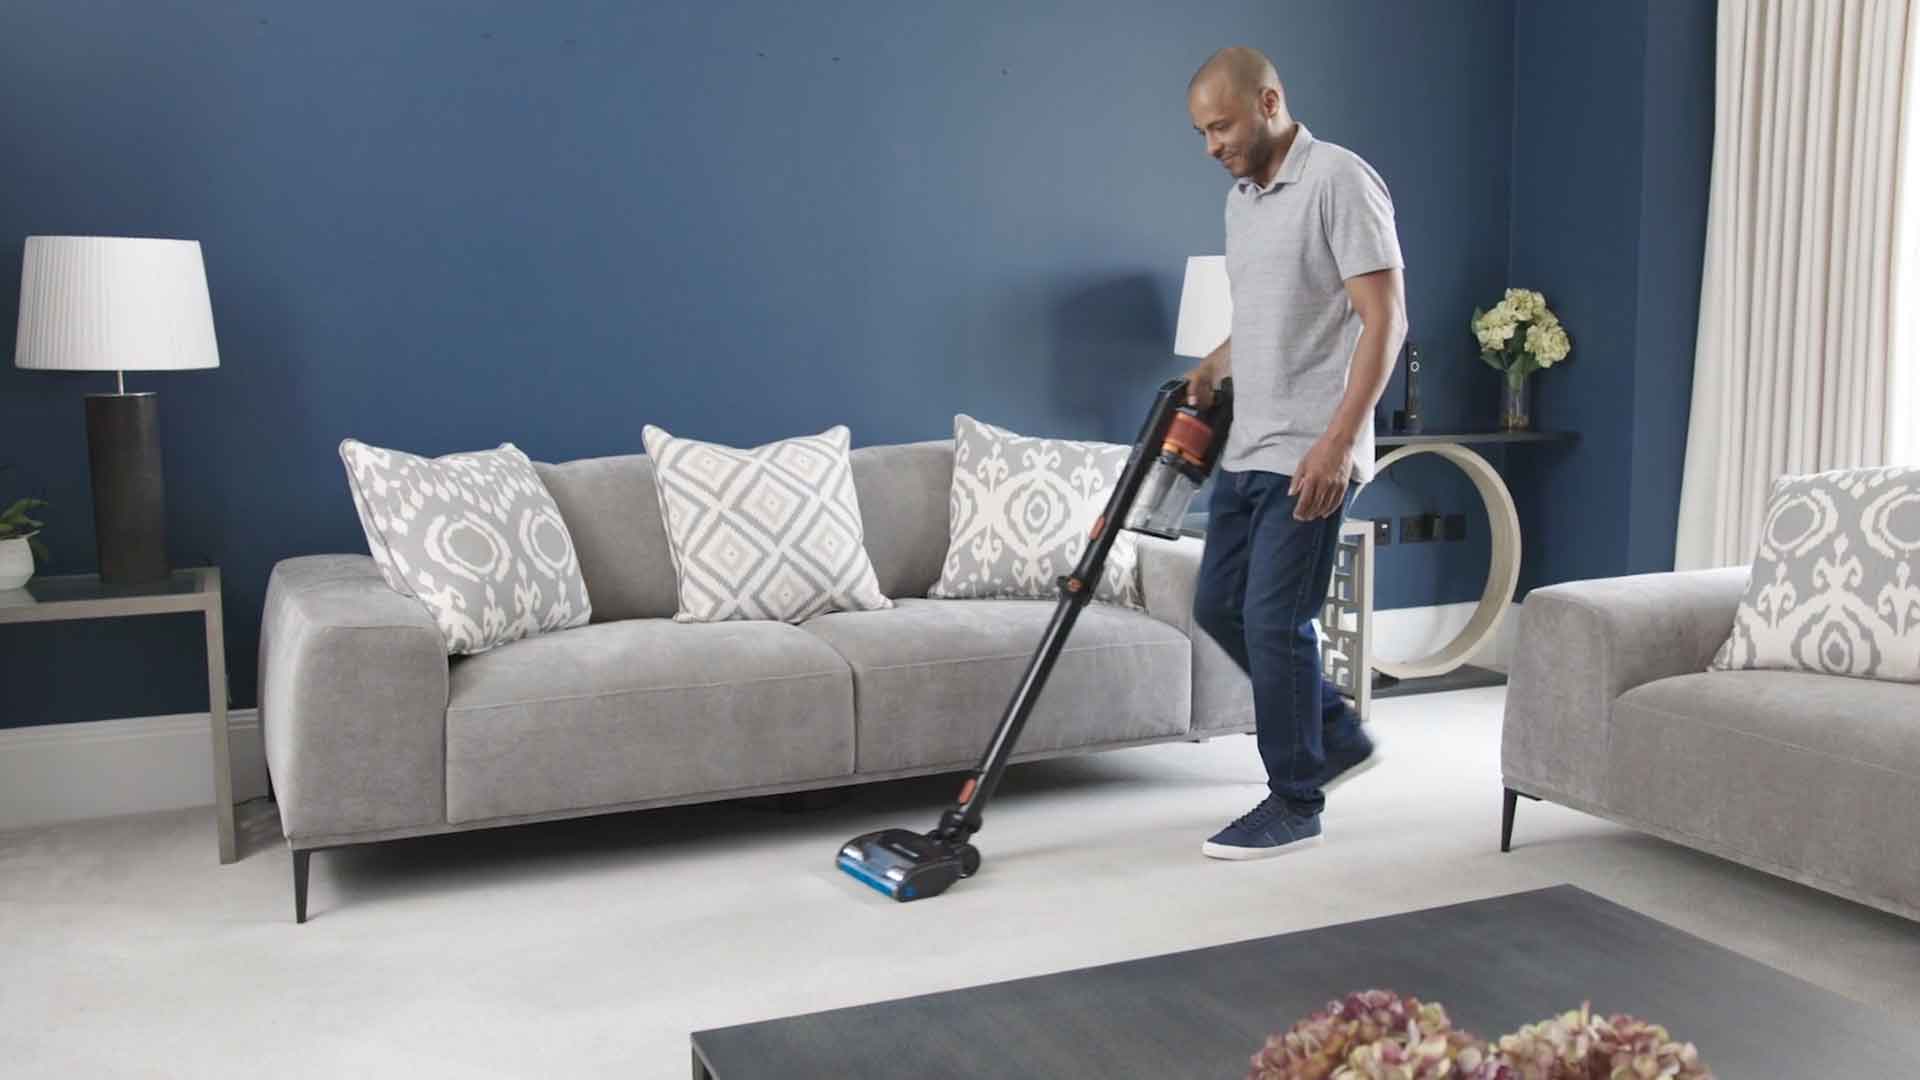
When spring cleaning you will want to clean spaces that are typically missed during routine vacuuming. This means selecting the right tools for the job. Most vacuums come with a selection of tools such as brushes and crevice nozzles. These tools allow you to clean around the outer edges of floors, inside cupboards and around heavy furniture.
Beds are often forgotten during a spring clean but it’s really important to include them. Over time they can harbour a lot of dust and dirt. A great tool for using on beds is a wide brush tool. If your vacuum doesn’t already have certain attachments for a particular job, we’d recommend investing in some to make cleaning a lot easier and more effective.
Clear Out Your Kitchen Cupboards
The kitchen is often one of the busiest areas in the home. You’ll definitely want to spend a good amount of time cleaning it thoroughly. Firstly, empty each cupboard one by one. Throw away anything that’s past its best or donate anything useful that you no longer want.
Vacuum out any crumbs and dust, making sure you get right into the edge and corners. Next, use a good anti-bacterial spray and cloth to clean the sides and shelves.
Once your cupboard is clean and dry, start putting things back in. Dust off any tins or packets that may need it before placing them back. This is a great opportunity to reorganise your cupboards to make things easier to find and ensure short-dated food is used first.
Cleaning Household Appliances
It’s easy to forget just how hard our appliances work over the years. Fridges, freezers, washing machines, cookers and dishwashers all get a lot of use. It’s important to give them a good Spring clean too. This will not only mean they’re more hygienic but can increase their longevity as well.
Cleaning Your Fridge And Freezer
As with your cupboards, cleaning your fridge and freezer gives you the chance to check for out of date food. Start by taking everything out and checking the dates. It’s a good idea to have an icebox or somewhere with ice blocks to store food while you clean.
Starting with the fridge, once empty of food, take out all shelves and drawers. These can be washed with warm soapy water and left to dry while you clean the inside of the fridge. Using either soapy water or antibacterial spray, wipe out the sides, bottom and shelf brackets. Remember to check the drain hole, this can have a little debris. Using a small bottle brush and warm soapy water, gently clean it to make sure it still works as it should.
Ensure that any excess moisture is dried before replacing the shelves and drawers. Again, use this as a chance to organise food by the use-by date.
Moving on to the freezer, this can be done drawer by drawer to prevent food from thawing. Alternatively, food could be stored in the fridge or in an icebox. Clean everything in the same way as the fridge but also check for any built-up ice and defrost this before cleaning. Ensure the seals of both doors are clean before you finish.

Cleaning Your Oven
Giving your oven a spring clean can seem like a task in itself. Regular cleaning when something is spilt will make a full clean feel much less daunting. It’s important to make sure the oven has cooled sufficiently to avoid burns but once it’s cool enough, use a damp cloth to wipe away any spillages.
Start your deep oven clean by removing the shelves and washing these in warm soapy water. Soak any burned-on food before using a non-scratch scouring pad to remove residue. A specialist oven cleaner can make cleaning your oven a breeze. Be careful not to spray into vents or the oven fan as they can release a strong smell once the oven is switched on.
Once you have thoroughly cleaned your oven with either soapy water or cleaning spray, make sure to wipe it over with a clean damp cloth before drying. It’s important to remember to clean the glass of your oven to prevent damage over time.
Multi-surface cleaners can also offer some very useful features.
Cleaning Your Microwave
Microwaves are notorious for food splatters. Even if you cover the food, somehow it ends up on the roof of your microwave or spilt onto the glass plate. Often it can become used again pretty quickly. According to Good Housekeeping in order to have your microwave sparkling clean again you should:
- Combine 1 cup water and lemon, lime or orange slices (squeeze juice from the fruit slices into the water) in a microwave-safe bowl. Or, if you have white or apple cider vinegar on hand, combine a few tablespoons and 1 cup water in a microwave-safe bowl.
- Place the bowl in the microwave and turn it on high power for several minutes until the mixture boils and the window steams up.
- Let cool for 5 minutes before opening the door, then remove the bowl and wipe the inside clean with a sponge.
Cleaning Your Washing Machine And Dishwasher
Although both of the appliances are used to clean things, they do need a little TLC once in a while. You’ll typically run both on fairly low temperatures so during cleaning, turn the water temperature right up to clean any grease and dirt. Clean any filters and drains before you start and use a specialist cleaning solution to ensure a really deep clean. If limescale is an issue in your areas, use a descaler to keep them running smoothly.
Cleaning Your Soft Furnishings
Spring is the perfect time to clean your soft furnishings as you’ll usually be able to dry them outdoors. If your washing machine doesn’t have a specialist setting for things such as curtains and cushion covers, use caution and select a gentle cycle. Do check that your items can be machine washed also.
Check the weight limit of your washing machine before you begin, remembering that the limit is for wet item weight. Things such as duvets or larger pillows may need to go to a laundrette. For anything heavy that you do wash, try to balance with smaller items to prevent ineffective spinning and draining.
Keeping Your Home Clean Easily
The easiest way to reduce the time spring cleaning takes, is by keeping up to date by doing small tasks daily or weekly. Cleaning schedules are becoming increasingly popular, especially as influencers such as Mrs Hinch have made them the norm for those wanting to keep their homes clean, fresh and uncluttered. You can find endless great cleaning tips all over the internet. There’s some great ideas, hints and tips over on Full Circle Home on Twitter.